
Tips and Advice for Successfully Completing Your DIY, Decorating, and Gardening Projects at Home
A DIY, decoration, or gardening project rarely starts with the technical gesture. It begins with preparing the workspace, choosing the right material, and, recently, checking the regulatory constraints related to noise. Ignoring any of these steps turns a productive Saturday into a source of frustration, or even a fine.
Noise regulation for DIY and gardening: what has changed
Since October 1, 2023, decree n° 2023-695 has modified the Public Health Code. Noise violations related to DIY work and noisy gardening equipment are now classified as 4th class offenses. The fixed fine reaches 135 euros, and the increase can go up to 375 euros for nighttime disturbances.
This change is a game-changer for anyone planning work at home. Using a circular saw or a gas lawnmower outside the hours permitted by the municipal order exposes one to a real financial penalty.
The hours vary by municipality, but most follow a similar pattern: allowed on weekdays in the morning and late afternoon, with a reduced time on Saturday and an even shorter window on Sunday. Before starting a noisy project, consulting the municipal order remains the first step, well before choosing the paint color.
To find practical information on Brico Déco Jardin, simply cross-reference this regulatory data with the technical sheets of the materials you plan to use.
Preparing the DIY project: suitable materials and tools
The classic temptation is to buy the most versatile tool possible. This logic works for a drill-driver, but it quickly reaches its limits. A tool suited to the material reduces rework and fatigue.
Choosing the material before the tool
Solid wood is not worked like MDF or plywood. MDF absorbs paint evenly, making it suitable for decorative furniture. Plywood is more resistant to moisture in its marine versions.
For an interior decoration project (shelves, frames, wall coverings), MDF offers a good compromise. For an outdoor project (planter, terrace bench), a treated wood of at least class 3 is necessary if one wants to avoid rotting within a few seasons.
The tool kit that covers most home projects
- A cordless drill-driver with enough torque to go through hardwood without straining, accompanied by a set of wood and metal bits
- A jigsaw, more versatile than a circular saw for curved cuts and decorative adjustments
- A bubble level and a quality tape measure, because a crooked shelf cannot be fixed with good intentions
- A set of sandpaper with varying grits (coarse grit for roughing, fine grit for finishing before painting or varnishing)
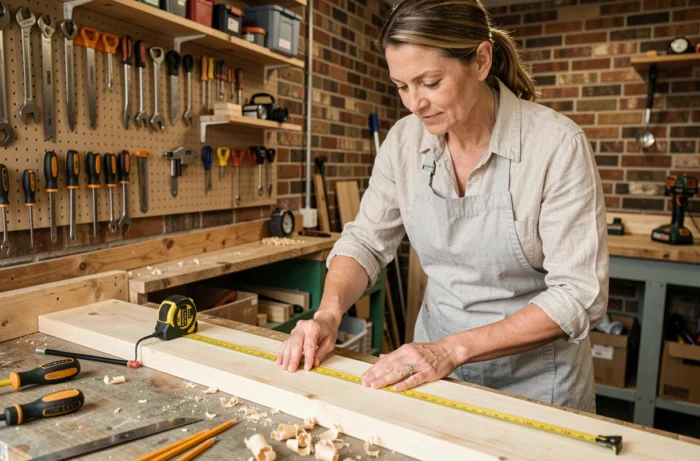
Measure twice, cut once remains the most cost-effective principle in DIY. Most cutting errors come from approximate measurements, not from a lack of technical skill.
Interior decoration: finishing techniques that change the result
Painting a wall or a piece of furniture seems accessible. The difference between an amateur result and a clean finish rarely lies in the choice of color. It lies in the preparation of the surface.
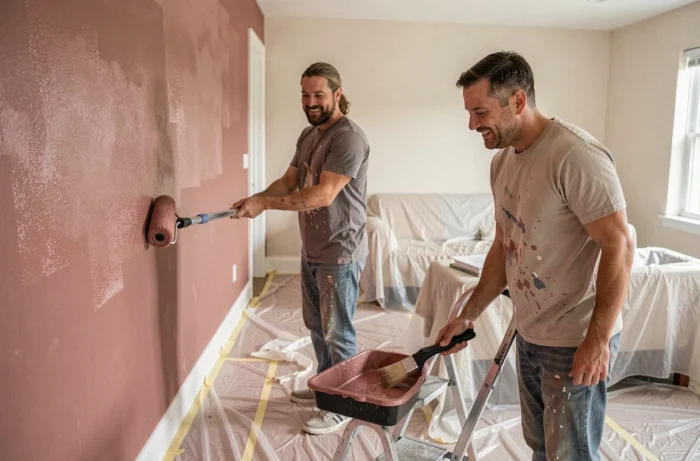
Sanding, dusting, and applying a primer is the foundation of any durable finish. On a previously painted wall, light sanding creates the necessary grip for the new layer. Without this step, the paint can peel within a few months, especially in humid rooms like the bathroom.
Painting: the underestimated role of drying time
Applying a second coat too early causes streaks, bubbles, or an uneven appearance. Each paint has a drying time indicated on the can, but this time assumes normal temperature and ventilation. In winter, in a poorly heated room, the announced delay often needs to be doubled.
For furniture, water-based paints dry faster than solvent-based paints, but they are less resistant to impacts. A clear protective varnish applied as the final layer compensates for this fragility on surfaces that are used (tabletop, dresser top).
Vegetable garden and garden layout: succeeding from the first season
Setting up a vegetable garden or redesigning an outdoor space requires different skills from indoor DIY. The soil, exposure, and drainage condition success much more than the choice of plants.
Exposure and soil: the two variables to evaluate first
Most vegetables (tomatoes, zucchinis, peppers) require a minimum of six hours of direct sunlight. Placing a vegetable garden under a dense-leaved tree compromises the harvest even before sowing. Observing the shaded areas throughout the day for a week provides a reliable map.
A soil that is too compact prevents rooting. A simple test is to push a stick into the ground: if it resists strongly in the first ten centimeters, adding compost and deep tilling is necessary before planting.
Terrace and outdoor space: anticipating drainage
Installing a wooden or tiled terrace without planning for water drainage creates stagnant puddles that degrade the material and encourage slippery moss growth. A slight slope (toward a flowerbed or a drain) is enough to solve the problem. This technical detail is addressed at the time of installation, not afterward.
- Check the slope of the ground before laying the joists or adjustable pedestals
- Plan a geotextile under the tiles to limit the regrowth of weeds
- Space the terrace boards a few millimeters apart to allow for drainage and wood expansion
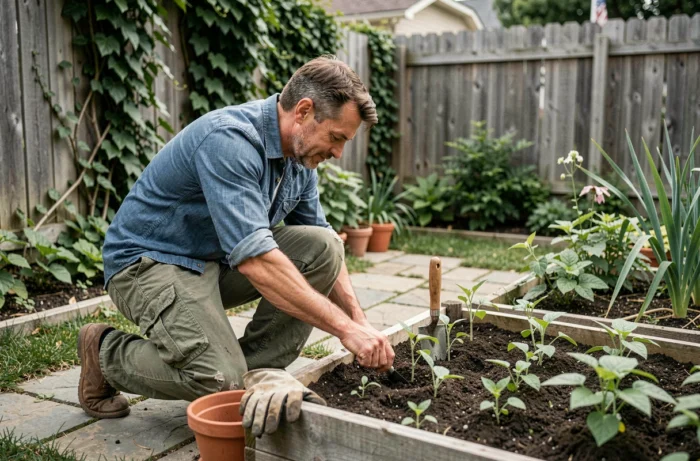
Gardening, like DIY and decoration, relies on a logical sequence: diagnosing the land, choosing materials, and executing carefully. Each successful project prepares the next, because the skills acquired on a square vegetable garden transfer to building a raised planter or installing a decorative trellis. The first step is always to take the time to prepare before producing.