

All the tips and practical advice for your DIY home projects
A home DIY project that goes wrong almost always starts with a poor assessment of the substrate or an unsuitable tool. Three technical aspects determine the success of a home project: surface preparation, choosing the right consumable, and the regulatory limits of what a homeowner can actually do at home.
Surface Preparation: The Technical Aspect That Conditions Every DIY Project
We see it in the majority of failed projects: paint blisters, plaster cracks, or tiles coming loose because the substrate was not properly prepared. Surface preparation is not an optional step; it is the foundation of any interior renovation project.
On an old plaster wall, a simple dusting is not enough. You need to scrape off the crumbly parts with a scraper, fill the cracks with an appropriate filler (not a smoothing compound, which has no mechanical strength in a cavity), and then apply a bonding primer.
On a wooden substrate, sanding should be done with the grain, using a medium grit abrasive before a fine grit. Skipping the intermediate grit leaves visible scratches under any satin or glossy finish.
A poorly prepared surface ruins any finish, even high-end ones. We recommend dedicating at least half of the total project time to this preparation phase.
To explore detailed guides on each type of substrate, the entire Ben Le Bricoleur site compiles technical sheets categorized by material and by room in the house.
DIY Tools: Buy Less but More Suitable
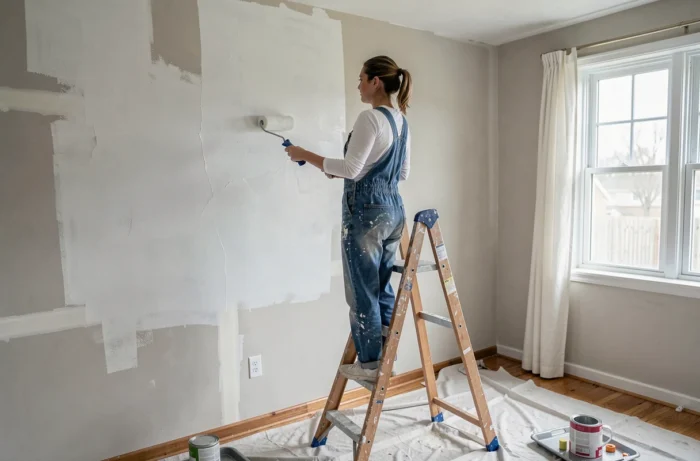
Accumulating low-quality tools costs more in the medium term than investing in a few reliable references. The common reflex is to buy a cheap multifunction kit. The result: a drill with insufficient torque for concrete, a set of screwdrivers with tips that round off after a few uses, and a jigsaw whose base distorts the cut after three months.
Three well-chosen versatile tools cover the majority of home projects: a variable torque drill-driver, an adjustable base jigsaw, and a cross-line laser level. The laser level, often seen as a gadget, eliminates installation errors on shelves, frames, and hanging furniture.
For painting work, the quality of the roller and brush dramatically changes the finish. A short-haired polyamide roller provides a lacquered finish on woodwork, whereas a cheap foam roller leaves air bubbles and marks. Synthetic mixed bristle brushes are suitable for acrylic paints, while natural bristles are preferred for oil-based varnishes.
Often Overlooked Consumables
- Drills: a SDS+ concrete drill does not fit into a standard chuck. Checking compatibility prevents forcing the machine and damaging the chuck.
- Abrasive discs: an 80 grit for roughing, a 120 grit for intermediate sanding, a 240 grit for finishing. Using only one grit is a false economy of time.
- Masking tape: a budget tape leaves glue residue and fuzzy lines. A clean release tape (often identified by a purple or gold color code) saves an hour of touch-ups.
Regulatory Limits of DIY Home Work
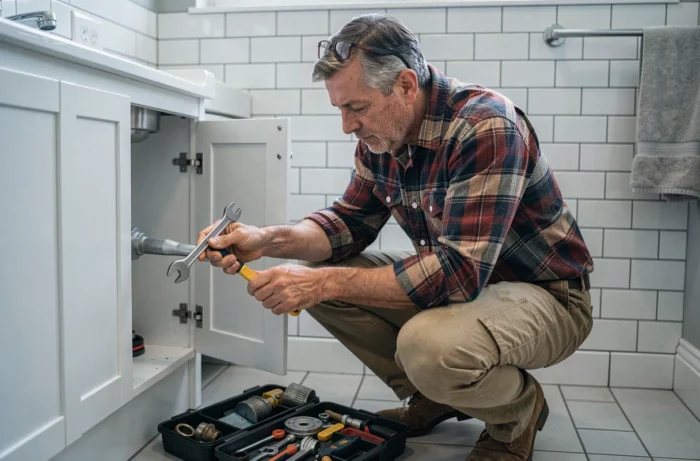
Regulations strictly govern what a homeowner can do themselves on the networks of their home. Replacing an outlet, a switch, or a shower hose with an identical one is allowed for a homeowner. However, any creation or modification of electrical or plumbing networks must be entrusted to a qualified professional.
In practice, changing a toilet flush mechanism or replacing a faucet seal poses no problem. Running a new electrical line from the panel, adding a circuit for a cooktop, or moving a water inlet involves interventions that affect the compliance of the home. In the event of a disaster, insurance may refuse coverage if the work was not done according to regulations.
Domestic accidents related to DIY remain underestimated. Accidents of daily life cause several million emergency room visits each year in France. Falls from a step ladder, deep cuts, and electrocutions are among the recurring causes.
Personal Protective Equipment Not to Be Neglected
- Safety glasses: to be worn at all times when drilling, grinding, and sanding. Concrete or metal splashes can cause irreversible eye injuries.
- Cut-resistant gloves: useful for handling sheet metal, glass, or when using a cutter. Latex gloves do not protect against cuts.
- FFP2 mask: when sanding old paints (risk of lead in buildings built before 1949) or cutting fibrous materials.
- Hearing protection: an angle grinder or circular saw exceeds the auditory comfort threshold. Molded earplugs are sufficient for short sessions.
Interior Woodwork: Recurring Mistakes in Joinery
Wood remains the preferred material for home DIY projects, whether for shelves, custom furniture, or wall cladding. The most common mistake concerns the direction of screwing in particle boards (chipboard): screwing into the edge causes the board to split. Always screw into the face and use dowels or cam locks for edge joints.
For solid wood joints, pre-drilling is not optional for hard woods like oak or beech. Without a pilot hole, the screw splits the wood, and the joint loses all strength. A drill bit slightly smaller than the screw body (excluding the threading) provides the right balance between tightening and material integrity.
The choice of glue also matters. A D3 vinyl glue is suitable for indoor furniture in a dry atmosphere. For a project exposed to moisture (bathroom, covered outdoor), an expanding polyurethane glue ensures significantly higher resistance, provided the joint is clamped for the full curing time indicated by the manufacturer.
A clean joint, a well-prepared surface, and a suitable tool produce a result that lasts, without having to redo everything six months later.